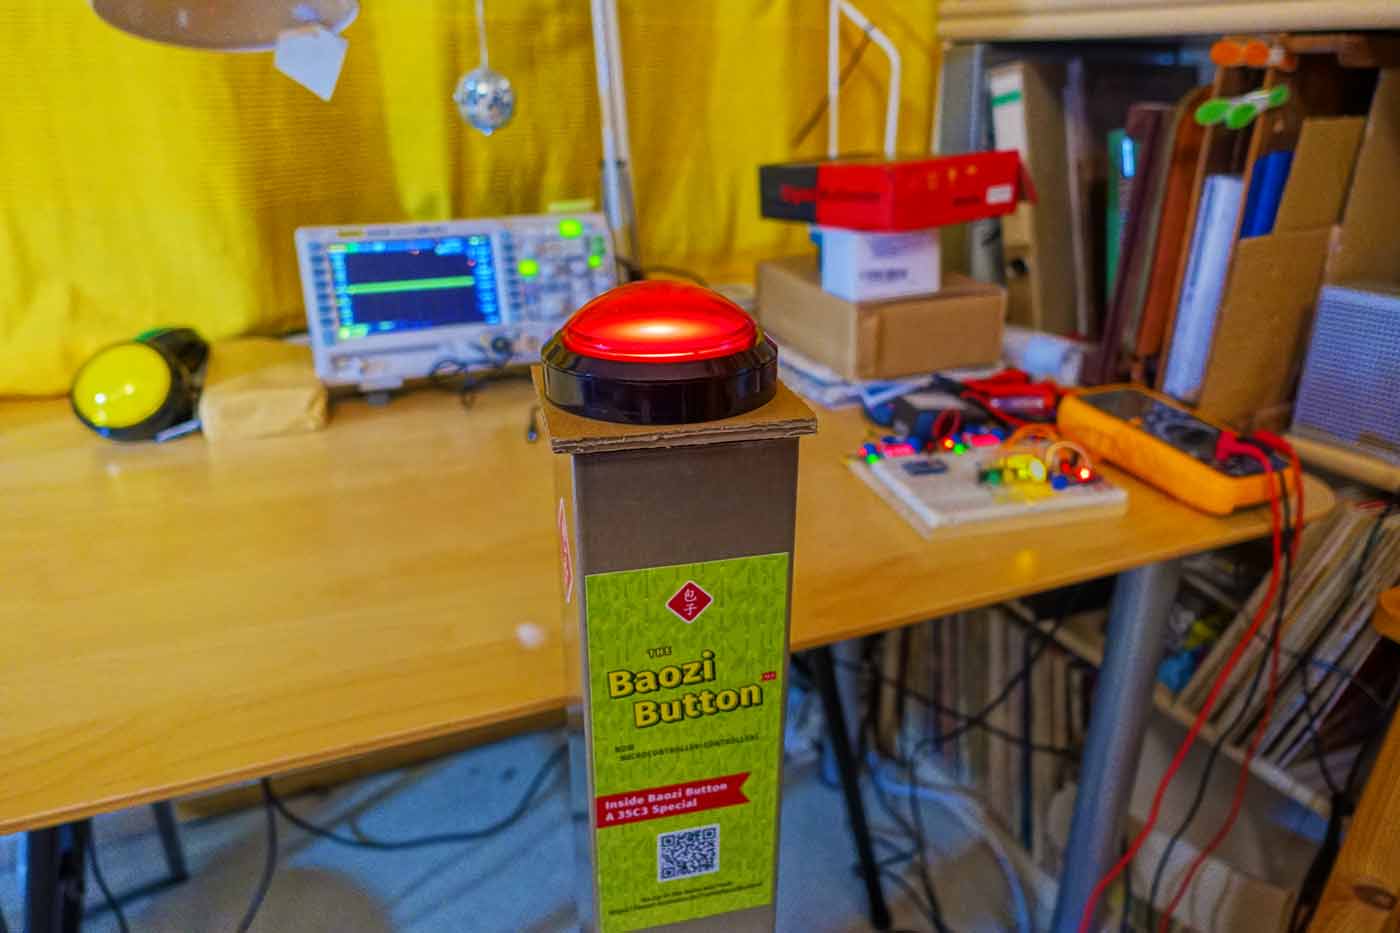
Inside Baozi Button
A 35C3 Special

Here are the inner electronics of the Baozi Button v2.0. Let’s dive a little bit further into it, shall we?
The Logic
The button in version 2 is now microcontroller-controlled and at its heart there is — of course ― an Arduino.
I use a Chinese release of the Arduino Pro Mini board; it’s small and has the well documented
Arduino ecosystem. I always buy these at a dozen. I get shit done wit’ it.
On the interrupt pin 2 we have our input for the big red shiny button you always love to press.
I hardware-debounced it a little bit — probably wrong, but it works. When we catch the interrupt
the Arduino on pin 7 triggers the MP3 module we talk about in the next section.
In addition the Arduino takes care of the button LED via pin 9. Every 10 to 60 seconds it does a little
blinky fade to catch attention while it’s in idle mode.
But the newest and best feature in v2.0 is: tilt and stress control. Experience shows, that people
like to overdo their encounters with the Baozi Button. Especially kids. So the first thing I built in
is tilt control: When the button is pressed very often and very quickly (5×, < 1 s between each press),
then we enter “Tilt Penalty Mode”. This means, the button is then disabled for 10 seconds, until it recovers
and is free to use again. The second feature is stress control: It's only possible
to press the button 10× in 30 seconds, otherwise we enter “Stress Penalty Mode”.
The button is then disabled for 15 seconds to repel overusers and to make them leave their prey.
The button LED fades out, when entering penalty modes and fades back in when the button recovered.
The Sound
Sounds that are played come from SD card in a little MP3 module, the DFPlayer Mini.
When the pin IO_2 from this module is pulled LOW for > 50ms, the module simply plays the next sound file.
It is capable of more, also Serial Communication, but for now we just use this feature. The audio
is put out via the modules DAC pins and are fed into an amplifier.
As an amplifier I use a 2× 120 W Stereo Amplifier Board, equipped with the TPA3116D2.
Since I only have one speaker connected, I only use one (the left) channel. The board / the chip is not
able to combine stereo channels to a double power mono one. Sad, but ok – if you ask me, it has enough SONIC BOOM!
The Power
All this big-ass audio stuff needs power, did you know?
Since the mobile first approach also applies to Baozi Buttons, I power it with a battery.
I found a pretty decent Lithium power bank (≈ 6,000 mAh) with jump start capabilty.
It’s important to be able
to get power directly from the battery pack, not via the 5 V USB socket. It is not capable of
delivering much power — and these USB sockets have the quirk that they switch off, when a certain
current draw is not met and all that sort of jazz. We go directly to the battery with an EC5 jack —
just like the jump start cables would — and have our 12 V at maximum current delivered.
Although full power of the audio amplifier board is only unleashed at 24 V, but it is loud enough with 12 V.
To power the logic, I use a little adjustable step down module, from 12 V to 5 V.
Pretty neat! So the Arduino and the MP3 module are supplied with logic level power; also the button LED.
All these circuits are behind a main switch, to switch everything on or off. A voltmeter is plugged
across the 12 V to have the eye on the battery pack. Charged at its maximum we have 12.6 V and it then
goes down to under 10V, when empty. That’s pretty deadly though for the battery. The audio gets crackly and noisy, then you know it is time to
recharge the battery. Recharging is done via the micro USB input of the power bank; there is a
regulator circuit built in that takes care of the charging of the Lithium battery. The power bank is
meant to be charged that way, so no hacking, whoa-hoooah! Just a loose USB cable is prepared to
be plugged into a USB power supply.
The idle circuits draw around 70 mA of current, mainly because of the button LED
and the amplifier in standby playing no sound. So with a 6,000 mAh @ 3.6 V (= 22 Wh) power bank
and a standby current of 70 mA @ 12 V (= 0.84 W), as a rough estimate the Baozi Button v2.0 should have
a standby time of 26 hours (22 Wh ÷ 0.84 W = 26 h). When in use, the current consumption because of the audio doubles or triples for a short time,
so probably, we get about 8 – 10 hours of use from the system, to produce all the lulz.
The Future
Battery protection, to check the voltage of the battery pack and switch off earlier.
Remote control, to trigger sounds and volume and on/off via RF.
Serial Communication, to talk to the MP3 module and trigger advanced stuff.
Move alert, to make a silly alarm noise when the mobile button is about to be carried away by some fierce and/or unauthorized person.
Wall plug capability, to be able to power the button from mains.
So that’s it for now! Hope it was fun for you!
Bye from Hall 2, Gate 9
![]()

The Bonus
Since the electrical workings are described above, all sound files and the source code is available on GitHub:
Sounds: https://github.com/BaoziBusiness/BaoziButton-Sounds/
Code: https://github.com/BaoziBusiness/BaoziButton-Code/
